
 Soap Bases
 Scents
 Oils
Oils Dyes
Dyes Equipment and Accessories
 Cosmetic Clays
Beginner’s Guide to Making Soap at Home: Everything You Need for Your First Batch

Beginner’s Guide to Making Soap at Home: Everything You Need for Your First Batch
Making soap for the first time can feel complicated when every tutorial uses different oils, molds, colors, and techniques. The easiest way to begin is to make a few decisions before buying ingredients: choose a method, understand what each material does, prepare a safe workspace, and keep your first project simple.
This guide helps you plan your first homemade soap batch. You will learn the difference between melt-and-pour and cold process soap, what equipment you need, how to prepare for working with lye, and what to expect between pouring a batch and using the finished bars.
First, Decide What Kind of Soap You Want to Make
There are two approachable starting points for beginners. Both can produce attractive handmade bars, but they teach different skills.
Option 1: Melt-and-Pour Soap
With melt-and-pour, you purchase a ready-made soap base, cut it into pieces, melt it according to the supplier’s directions, and pour it into a mold. The base has already been manufactured, so you do not measure or mix raw sodium hydroxide yourself.
This is a useful first project if you want to practice melting, adding a suitable color or fragrance, and working with molds. You can usually remove the bars once the base has fully set, following the base manufacturer’s instructions.
Option 2: Cold Process Soap
Cold process soap is made from oils, water, and sodium hydroxide, also known as lye. The oils and prepared lye solution are combined to start saponification, the reaction that creates soap. The mixture is poured into a mold, allowed to set, cut, and then cured.
Choose cold process if you want to learn how to build a soap recipe from oils and understand how those oils affect the finished bar. It requires accurate measurements, suitable protective equipment, and careful handling of lye.
| Question | Melt-and-pour | Cold process |
|---|---|---|
| Do you handle raw lye? | No; the base has already been made. | Yes; lye is needed to make soap from oils. |
| Can you design the oil recipe? | You work with the composition of the purchased base. | Yes, provided you calculate the lye correctly. |
| What do you learn first? | Melting, molds, and simple appearance choices. | Accurate weighing, saponification, trace, and curing. |
| Is a long cure usually part of the process? | Generally no; follow the base supplier’s instructions. | Yes; many cold process bars are cured for several weeks. |
The Four Essential Ingredients in Cold Process Soap
A basic cold process batch can be made without colors, exfoliants, or fragrance. Its essential components are:
- Soap-making oils or fats: These supply the fatty acids that become soap. Olive, coconut, and other oils contribute different qualities.
- Sodium hydroxide: This is the alkali used to make solid traditional soap. Its required weight depends on the specific oils and their amounts.
- Water: Water is used to dissolve the sodium hydroxide so it can be mixed evenly with the oils. Distilled water is a practical choice for a consistent first batch.
- Time: The poured soap must firm up before unmolding, and the cut bars need a suitable curing period.
Fragrance and color are optional. Leaving both out of your first batch makes it easier to recognize what the plain soap mixture should look like at each stage.
Why You Cannot Guess the Amount of Lye
Every soap-making oil has an alkali requirement. Changing the type or weight of an oil changes the amount of sodium hydroxide needed for the recipe. A teaspoon or a visual estimate is not accurate enough.
Start with a complete, verified recipe and weigh every ingredient. Before making it, enter the exact oils and their weights into a reliable soap-making lye calculator. If you substitute an oil, resize the batch, or add an acid that reacts with alkali, calculate the recipe again.
The extra oils left after a recipe’s lye amount has been adjusted are often described by its superfat setting. Beginners should use an established recipe rather than changing this setting without understanding how it affects the final bar.
Equipment to Prepare Before Your First Batch
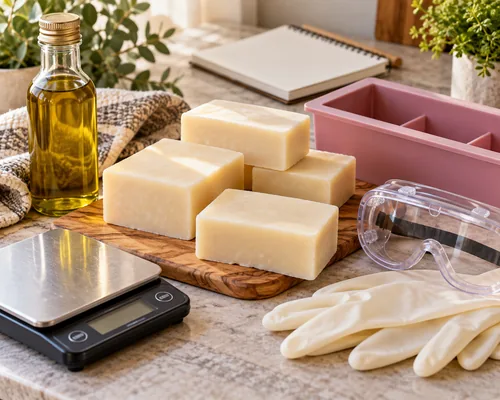
Gather everything before opening an ingredient container. A first-time cold process setup typically includes:
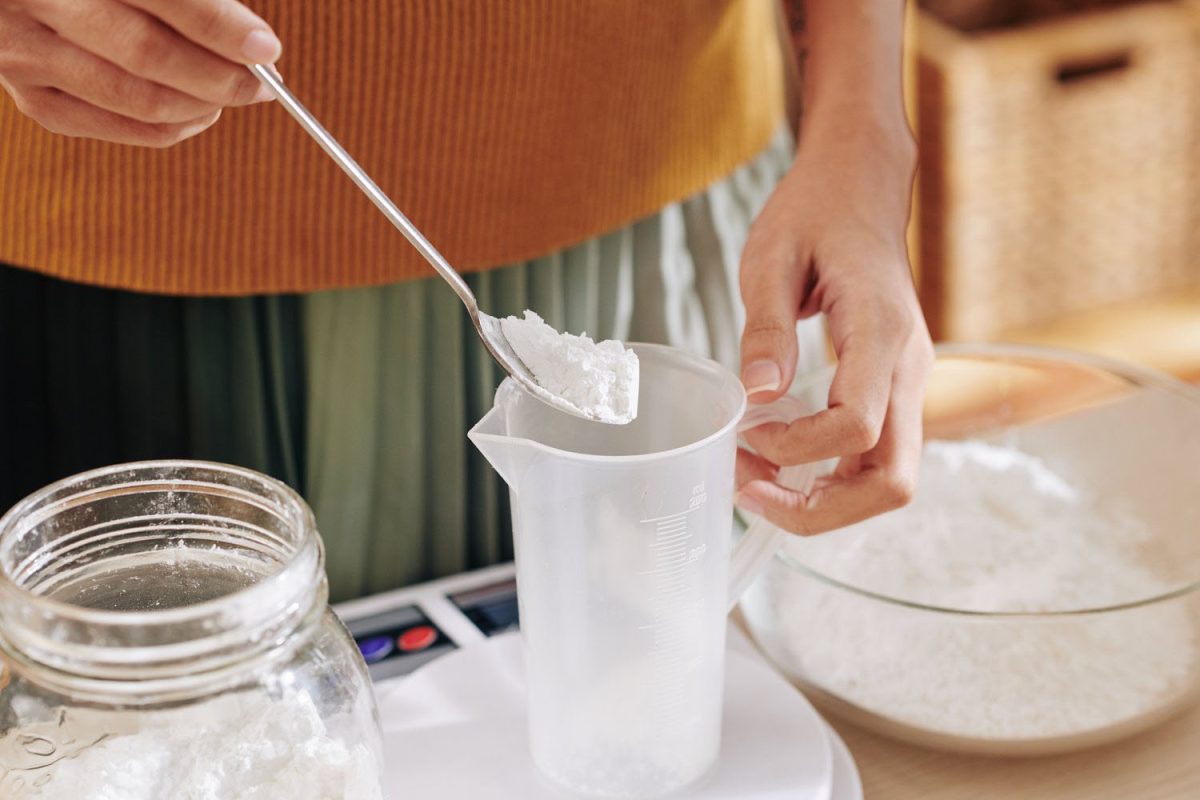
- An accurate digital scale
- Chemical splash goggles and suitable gloves
- Long sleeves, long trousers, and closed shoes
- Lye-compatible, heat-safe containers
- A separate container for the oils
- A suitable spoon or spatula
- An immersion blender dedicated to soap making
- A thermometer
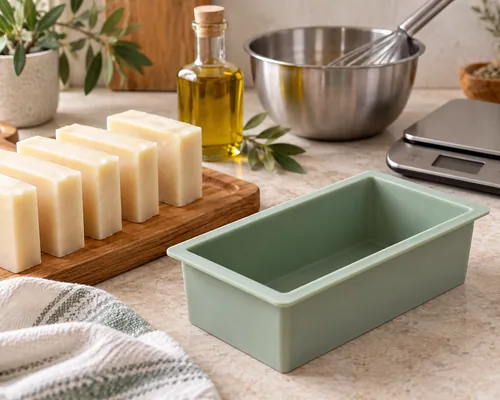
- A prepared mold
- A clean, dry space where bars can cure undisturbed
Keep soap-making equipment separate from food preparation equipment. Avoid aluminum containers and utensils when working with lye because sodium hydroxide can react with certain metals.
Set Up a Safe Soap-Making Space
Cold process soap making should be an uninterrupted activity. Choose a stable work surface with ventilation, keep children and pets out of the area, and clear anything you could accidentally knock over.
Put on goggles, gloves, and protective clothing before measuring lye. Sodium hydroxide and fresh soap batter can damage skin and eyes. Prepare water access for rinsing in case of accidental contact.
When making the lye solution, slowly add lye to water, never water to dry lye. The mixture heats as the lye dissolves. Keep the container secure while it cools, and do not leave it where someone else could mistake it for an ordinary liquid.
If lye or fresh soap batter contacts skin, rinse immediately with plenty of running water. For eye exposure, begin rinsing immediately and seek urgent medical attention.
What Happens During Your First Cold Process Batch?
Once your verified recipe, equipment, and mold are ready, the process follows a clear sequence:
- Weigh the water, lye, and oils separately. Use the weights from your complete recipe, not volume measurements.
- Prepare the lye solution. Add the lye slowly to the water, stir until dissolved, and allow it to cool safely.
- Prepare the oils. Melt any solid oils as needed and combine them with the liquid oils.
- Combine the mixtures. When both are at workable temperatures for the recipe, carefully pour the lye solution into the oils.
- Blend to a stable mixture. Alternate short immersion-blender pulses with hand stirring.
- Watch for trace. The mixture becomes uniform and starts to thicken. A drizzle of batter may briefly leave a mark on its surface.
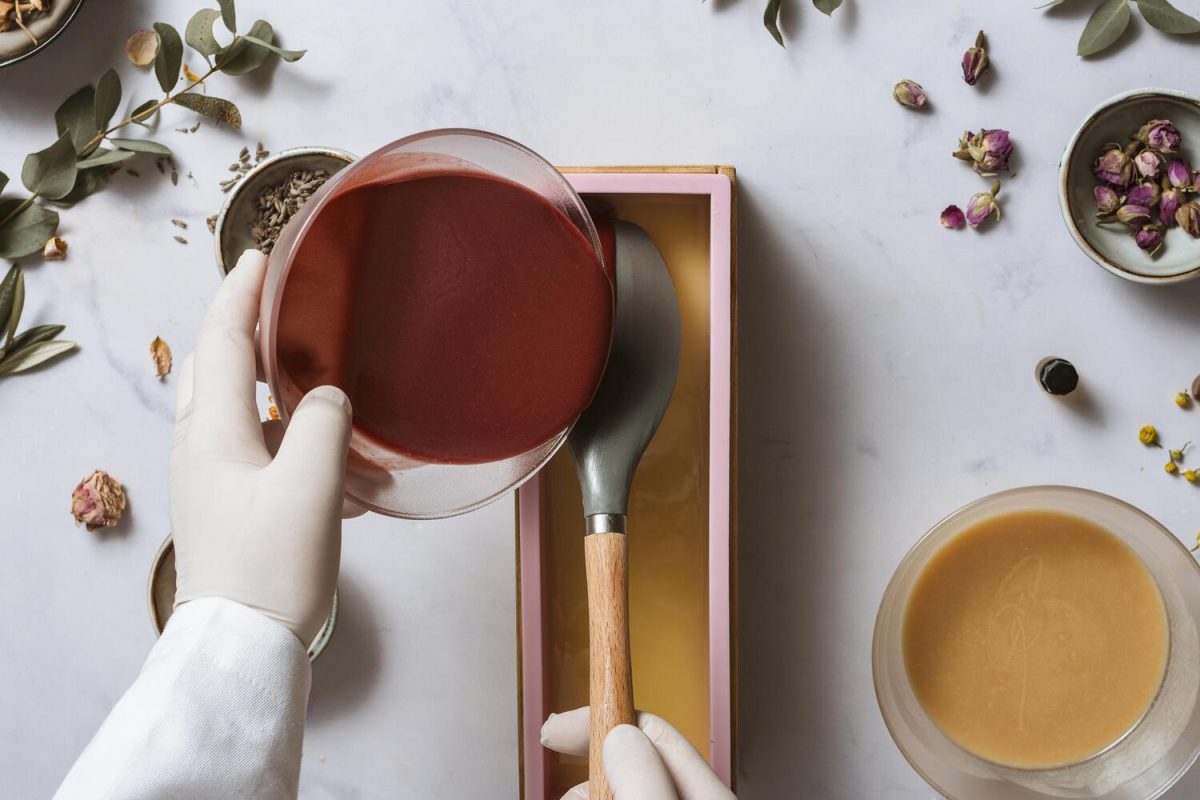
- Pour into the mold. Set the mold somewhere secure and leave the soap until it is firm enough to remove cleanly.
- Cut and cure. Cut the set soap into bars and arrange them with airflow around each piece.
These steps describe the workflow, not a stand-alone formula. Always use the ingredient weights and processing guidance for the particular recipe you have chosen.
Three Terms Every Beginner Should Know
Saponification
This is the reaction between oils or fats and alkali that produces traditional soap. Correct ingredient weights are necessary for a well-balanced result.
Trace
Trace is the stage when the oils and lye solution have formed a stable mixture and the batter begins to thicken. It can be thin and pourable or much thicker, depending on the recipe and how long it is blended.
Curing
Curing is the period after the soap has been unmolded and cut. Water gradually evaporates, and the bars develop their final handling and use characteristics. Many cold process recipes call for approximately 4–6 weeks of curing in a cool, dry place with good airflow.
What Should Your First Soap Look Like?
A successful first batch does not need to be perfectly white or shaped like a store-bought bar. Slight variations in color and hand-cut edges are normal. Focus on the qualities that matter more:
- The ingredients were measured accurately.
- The batter combined evenly without visible oil separation.
- The soap became firm enough to unmold and cut without falling apart.
- The bars were allowed to cure and were evaluated before use.
A light, powdery-looking surface film can sometimes appear on handmade soap. Appearance alone does not establish that every other aspect of the batch is correct. If measurements were uncertain, the batter separated, or the soap shows signs of a serious formulation problem, do not assume that waiting longer will repair it.
Common First-Batch Mistakes
| Mistake | How to avoid it |
|---|---|
| Starting with a complicated design | Make an unscented, uncolored batch first. |
| Measuring oils or lye with cups and spoons | Use a digital scale and measure by weight. |
| Replacing an oil without updating the lye amount | Recalculate whenever the oils or their weights change. |
| Working without full protective equipment | Put on gloves, splash goggles, and suitable clothing before handling lye. |
| Blending continuously for too long | Use short pulses and check the batter’s consistency frequently. |
| Trying to remove soft soap from a mold | Wait until it releases cleanly without tearing. |
| Using bars immediately after cutting | Follow the curing guidance for the recipe. |
Keep a Record of Your First Batch
Write down the date, exact ingredients and weights, lye calculator settings, mixing temperatures, mold type, and the time needed before unmolding. After the cure, record how the bars lather and how long they last during use.
These notes turn your first batch into a useful reference. If the soap is too soft, thickens too quickly, or does not match what you expected, you will know exactly what was used and what to adjust in a future recipe.
What Should You Try After Your First Successful Batch?
Change just one feature at a time. You could try a different mold, a suitable soap colorant, or a fragrance approved for soap making. If you want to change the oil blend, calculate the new lye amount and make another small test batch.
This gradual approach makes it easier to understand why the next batch behaves differently. It also helps you build a soap-making process you can repeat confidently.
Final Thoughts
Your first soap-making project is about learning a reliable process. Choose the method that matches your comfort level, prepare your equipment, follow a complete recipe, and give the finished bars the time they need.
Once you can make a simple batch consistently, colors, scents, and more advanced formulas become much easier to explore.