
 Soap Bases
 Scents
 Oils
Oils Dyes
Dyes Equipment and Accessories
 Cosmetic Clays
Soap Making Methods: Advantages, Disadvantages and How to Choose

There is more than one way to make handmade soap. Some methods let you formulate a bar from oils and lye, while others begin with soap that has already been made. The right choice depends on your experience, the ingredients you want to control, the appearance you have in mind and how long you can wait before using the soap.
In this guide, we compare five common soap making methods: cold process, hot process, melt and pour, rebatch and liquid soap making. You will learn how each method works, its main advantages and disadvantages, and when it makes sense to use it.
Soap Making Methods at a Glance
| Method | Starting point | Handle lye yourself? | Main advantage | Main limitation |
|---|---|---|---|---|
| Cold process | Oils, water and sodium hydroxide | Yes | Control over the formula and detailed designs | Bars usually need several weeks to cure |
| Hot process | Oils, water and sodium hydroxide | Yes | Heat speeds up saponification | Thick soap is harder to shape into fine designs |
| Melt and pour | Ready-made soap base | No | Quick, accessible and ready after hardening | Limited control over the base formula |
| Rebatch | Previously made soap | Usually no, if starting with finished soap | Can repurpose a suitable existing batch | Thick texture limits smooth finishes and swirls |
| Liquid soap | Oils, water and usually potassium hydroxide | Yes, when making it from scratch | Produces soap for liquid formats | Paste making and dilution add steps |
A note about lye: “No” in this table means you do not need to handle lye during that method. A genuine ready-made soap base was still produced through saponification at an earlier stage.
1. Cold Process Soap Making
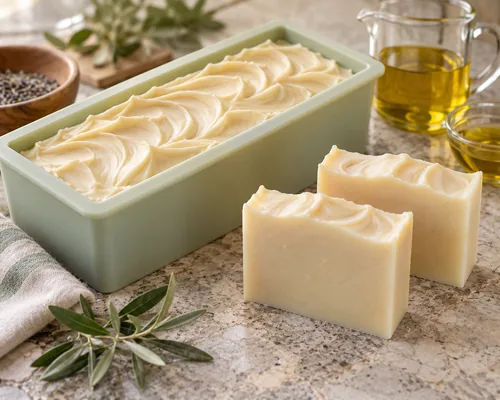
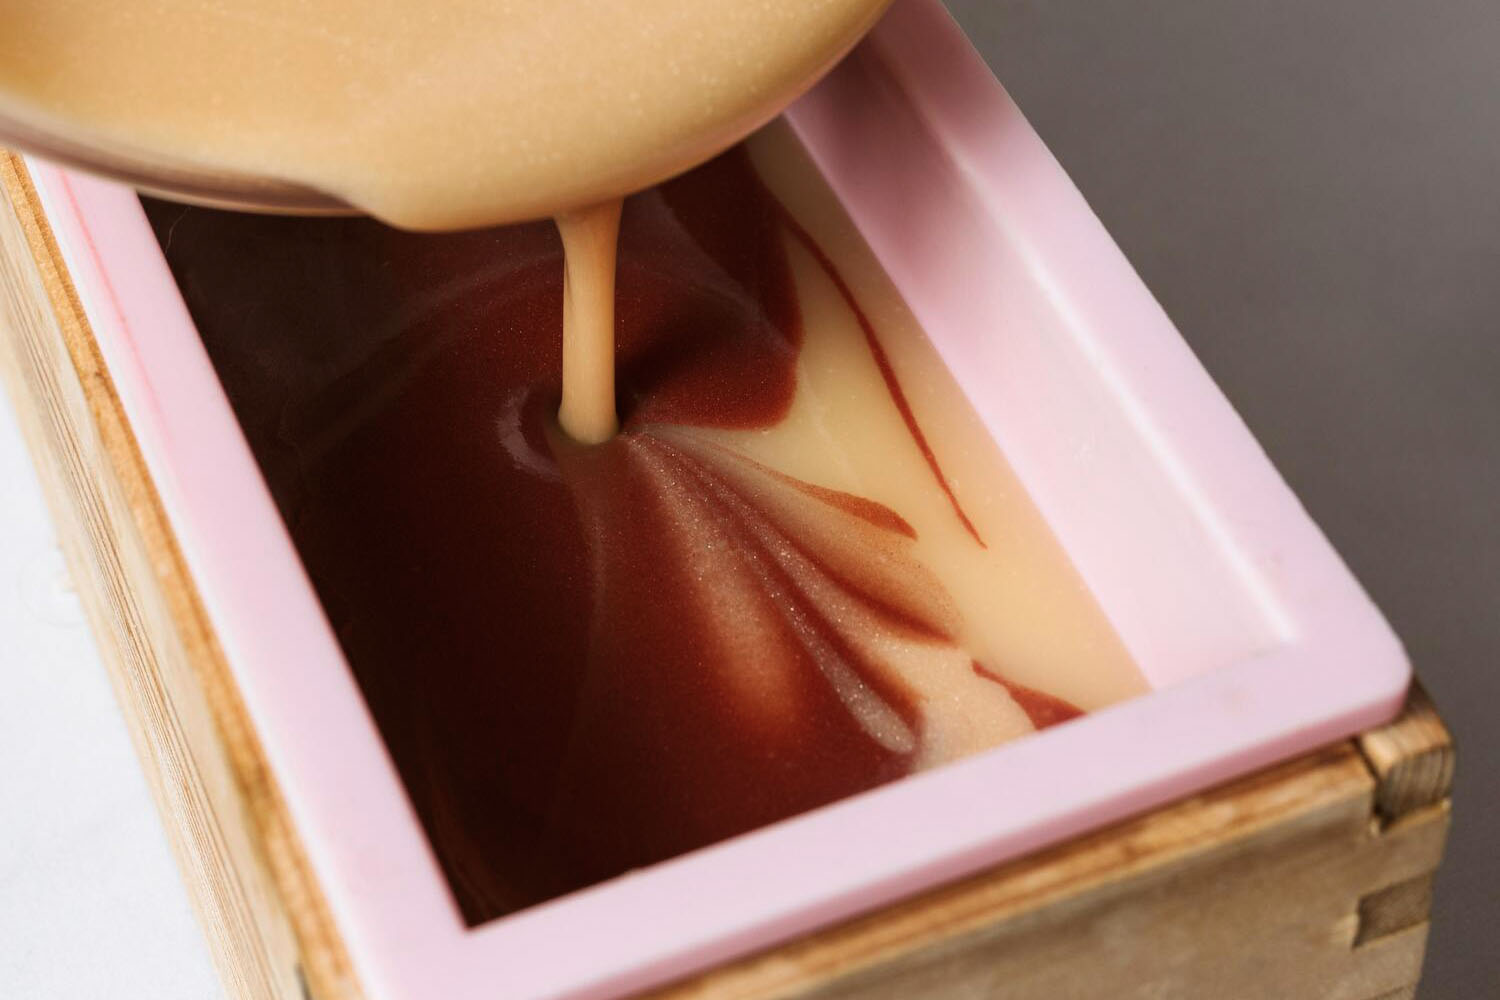
Cold process soap is made by combining a measured lye solution with oils or fats. The mixture thickens to a stage called trace, when colors, fragrance or other suitable ingredients can be incorporated before the soap is poured into a mold.
Despite the name, cold process is not necessarily carried out at a cold temperature. Solid fats may need to be melted, and the saponification reaction generates its own heat. “Cold process” means that the soap batter is not deliberately cooked with an external heat source after mixing.
Advantages of Cold Process Soap
- Full control over the oil blend: You can choose the oils and butters that form the base of your recipe.
- Flexible design options: A sufficiently fluid batter allows swirls, layers and decorative tops.
- Original formulations: You can adjust oil percentages, superfat and suitable additives to develop a distinctive bar.
- Suitable for planned batches: Once you have a tested formula and process, you can repeat it and record the results.
Disadvantages of Cold Process Soap
- Direct lye handling: Sodium hydroxide is caustic and requires appropriate equipment, protective gear and careful procedures.
- Curing time: A typical bar is allowed to cure for about four to six weeks, although the time varies with its formula and conditions.
- Ingredient behavior can change the design: Some fragrances speed up thickening, while certain colors change in fresh soap.
- Every oil change requires a new calculation: Replacing an oil without recalculating the lye can make the formula inaccurate.
Best for: Makers who want to formulate bar soap from scratch and have time to learn lye safety, recipe calculation and curing.
2. Hot Process Soap Making
Hot process also begins with oils and a calculated lye solution. The difference is that external heat is applied to cook the soap mixture and advance saponification before the soap goes into the mold. A slow cooker or another suitable heated vessel may be used.
Hot process soap is often described as quicker to use than cold process soap. However, “saponified” and “fully dried” are different things. Even if a properly made bar can be used after it cools, additional drying time can improve its hardness and how long it lasts in use.
Advantages of Hot Process Soap
- Faster saponification: The cooking stage advances the chemical reaction before molding.
- Control over the starting formula: As with cold process, you choose and calculate the oils.
- Shorter wait before use: A properly finished batch may be usable after cooling, though drying can still improve the bar.
- Distinctive appearance: The method naturally suits textured, rustic bars.
Disadvantages of Hot Process Soap
- Thick texture: Cooked soap is generally less fluid, making fine swirls and sharply defined layers more difficult.
- Additional heat management: The soap must be monitored during cooking; it can expand in the vessel.
- Heat-sensitive additions need care: High temperatures can affect the appearance or scent of some ingredients.
- Lye precautions still apply: Cooking the soap does not remove the need to handle the initial alkali safely.
Best for: Makers who want a from-scratch bar with a shorter wait before use and are comfortable working with a thicker, more textured soap.
3. Melt and Pour Soap Making
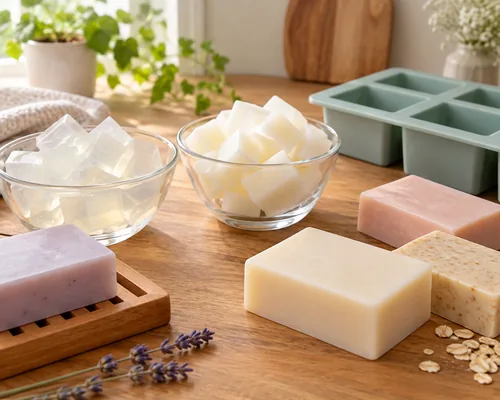
Melt and pour starts with a manufactured soap base that has already been saponified. The base is gently melted, combined with suitable colors or fragrance, poured into molds and left to harden. It does not require a curing period after it sets.
This is often the most approachable method for someone making a first decorative soap. Clear and opaque bases offer different visual possibilities, and individual molds make shaped bars straightforward.
Advantages of Melt and Pour Soap
- No direct lye handling: The supplier has already produced the soap base.
- Quick turnaround: Bars are ready to use once they have cooled and hardened.
- Accessible for beginners: The process lets you focus on melting, coloring, scenting and molding.
- Good for clear designs: Transparent bases can display embedded soap pieces, layers and suitable decorative colors.
Disadvantages of Melt and Pour Soap
- Limited formula control: You cannot replace the oils that were used to make the finished base.
- Surface moisture can appear: Some bases attract moisture from humid air, causing droplets sometimes called “glycerin dew.”
- Less time for certain designs: The melted base cools and sets quickly, which can make some complex swirls difficult.
- Additives must be chosen carefully: Too much extra oil can soften the bar, heavy particles can sink, and fresh food ingredients can spoil.
- Heat still matters: Melted base can burn skin or overheat, even though you are not handling raw lye.
Best for: Beginners, small decorative projects and anyone who wants a finished bar without formulating soap from scratch.
4. Rebatch Soap Making
Rebatching means shredding or chopping previously made soap, warming it with a small amount of liquid if needed, and pressing the softened mixture into a new mold. It is sometimes called hand milling.
A maker might rebatch a sound soap batch because its appearance did not turn out as planned or because they want to give plain bars a different scent or look. Rebatching does not automatically make a soap with an incorrect lye calculation safe. Check the original recipe and the reason the batch failed before attempting to reuse it.
Advantages of Rebatch Soap
- Useful for suitable existing soap: It can give a cosmetically imperfect but correctly formulated batch another form.
- No new lye solution: When starting with finished soap, the remolding stage does not require mixing fresh lye.
- Less waste: Suitable soap trimmings or plain bars can be incorporated into another batch.
- Flexible small projects: One plain batch can be divided and finished in different ways.
Disadvantages of Rebatch Soap
- Dense, uneven texture: Reheated soap does not usually become as fluid as fresh cold process batter or melt and pour base.
- Limited design precision: Smooth layers and delicate swirls are challenging.
- Extra liquid may need to dry: The amount added during rebatching can affect how long the new bars take to become firm.
- It cannot correct every failed batch: A soap with a serious formulation error needs proper assessment, not simply reheating.
Best for: Reworking correctly formulated soap with an unwanted appearance or using suitable soap scraps.
5. Liquid Soap Making
Liquid soap making is a separate route for producing a soap paste that is later diluted. From-scratch liquid soap commonly uses potassium hydroxide (KOH) rather than the sodium hydroxide (NaOH) commonly used for firm bars. The KOH amount must be calculated using the correct values and the stated purity of the alkali.
It is also possible to buy a ready-made liquid soap paste or base and follow the supplier’s directions for dilution and customization. That route differs from formulating a liquid soap from oils and KOH yourself.
Advantages of Liquid Soap Making
- Creates a different product format: The finished soap can be prepared for suitable liquid dispensing containers.
- From-scratch formula control: When making the paste yourself, you can choose the oils and design the formula.
- Flexible finishing: A suitable paste can be diluted according to the desired finished product and tested accordingly.
Disadvantages of Liquid Soap Making
- More stages: Making the paste, checking it and diluting it add work beyond molding a bar.
- KOH handling: Potassium hydroxide is caustic and requires the same serious attention to protective equipment and safe handling as other soap-making alkalis.
- Purity and dilution matter: The KOH specification and the water added during dilution can affect the result.
- Finished-product testing is important: Appearance, viscosity and stability should be evaluated for the intended formula and packaging.
Best for: Makers whose goal is a liquid soap and who are ready to learn paste formulation and dilution, or who prefer to customize a suitable ready-made liquid soap base.
Which Soap Making Method Should You Choose?
- Choose melt and pour if you want to begin with decorative bars and avoid handling raw lye.
- Choose cold process if choosing every oil and creating detailed bar designs are your priorities.
- Choose hot process if you want to formulate from scratch and reduce the wait for saponification to finish.
- Choose rebatch if you already have suitable finished soap to reshape or repurpose.
- Choose liquid soap making if the product you want is a liquid rather than a bar.
There is no single method that is best for every soap maker. Your first decision is whether you want to formulate soap from oils and alkali or customize a soap base that has already been made. From there, consider your equipment, available time and the appearance you want.
Basic Safety Points for Every Method
Cold process, hot process and from-scratch liquid soap making involve caustic alkali. Use a verified recipe, measure ingredients by weight, wear appropriate eye and skin protection, and work in a suitable area. When preparing a lye solution, add the alkali to the water as directed by your established safety procedure—never pour water onto a pile of dry alkali.
Methods that use finished soap avoid direct handling of raw lye during that stage, but melted soap and heated equipment can still cause burns. Use tools and containers suitable for the temperatures involved, and follow the base supplier’s instructions.
Frequently Asked Questions
What is the easiest soap making method for beginners?
Melt and pour is usually the easiest starting point because the base has already been saponified. You can practice melting, coloring and molding without preparing a lye solution.
Is melt and pour soap “lye-free”?
You do not handle lye when customizing a ready-made base. However, alkali was used when the supplier originally made the soap. “No direct lye handling” describes the method more accurately.
Does hot process soap need to cure?
Cooking advances saponification, so a properly made hot process bar may be usable after it cools. Additional drying time can still produce a firmer bar that lasts longer in use.
Can rebatching fix lye-heavy soap?
Simply reheating soap will not reliably correct an unknown or incorrect lye amount. Review the batch records and calculations before deciding whether a failed batch can be safely reworked.
Can I turn a bar soap recipe into liquid soap by changing NaOH to KOH?
No direct substitution should be made. The alkali requirements are different, and liquid soap also has its own paste-making and dilution considerations. Recalculate and develop the formula specifically for liquid soap.
Final Thoughts
Cold process offers formulation control and design flexibility. Hot process speeds up saponification but produces a thicker batter. Melt and pour is quick and accessible, while rebatching can repurpose suitable existing soap. Liquid soap making serves a different product format and calls for its own calculations and finishing steps.
Understanding these advantages and disadvantages makes it easier to choose a method that fits your skills, schedule and intended result. Whichever route you take, use suitable ingredients, accurate measurements and a process you can repeat confidently.