
 Soap Bases
 Scents
 Oils
Oils Dyes
Dyes Equipment and Accessories
 Cosmetic Clays
How to Make Soap at Home: A Step-by-Step Guide for Beginners

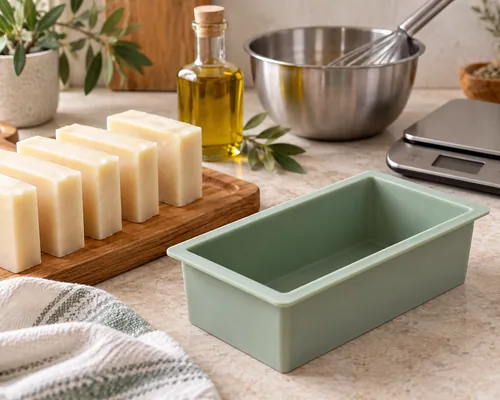
How to Make Soap at Home: A Step-by-Step Guide for Beginners
Making your first bar of soap at home is easier to understand when you start with a simple, unscented recipe. You do not need elaborate colors or decorations. You need correctly measured ingredients, suitable equipment, a clear sequence of steps, and a safe place to work.
This guide focuses on cold process soap making. In this method, oils react with sodium hydroxide, commonly called lye, to create soap. The mixture is poured into a mold, cut into bars, and allowed to cure before regular use.
How Does Homemade Soap Work?
Traditional soap is made through a chemical reaction called saponification. When properly calculated amounts of oils and sodium hydroxide are combined, they react to form soap. Different oils contribute different properties to the finished bar, including firmness, lather, and how the soap feels during washing.
The amount of lye must match the oils in the recipe. Each oil has its own alkali requirement, so replacing one oil with another while keeping the same lye amount can produce an unsuitable batch. Always run a changed recipe through a reliable soap-making lye calculator.
Cold Process, Hot Process, and Melt-and-Pour: What Is the Difference?
| Method | How it works | Good to know |
|---|---|---|
| Cold process | Oils and a prepared lye solution are mixed, poured, and left to complete saponification. | Offers control over the oil recipe and usually needs several weeks of curing. |
| Hot process | Oils and lye are combined, then the soap is cooked before molding. | The cooked batter is thicker and the method has different handling steps. |
| Melt-and-pour | A ready-made soap base is melted, customized, and poured into a mold. | The base has already been manufactured; you do not prepare a lye solution yourself. |
If you prefer to begin without handling raw sodium hydroxide, melt-and-pour is an accessible first project. The step-by-step recipe below teaches the fundamentals of making cold process soap from oils and lye.
Safety First: Working With Lye
Sodium hydroxide is corrosive. Before preparing any cold process soap, set up a work area where children, pets, and distractions cannot interrupt you.
- Wear chemical splash goggles, suitable gloves, long sleeves, long trousers, and closed shoes.
- Work in a well-ventilated area and avoid breathing dust or vapors while mixing the lye solution.
- Use equipment intended for soap making rather than returning it to food preparation.
- Use containers suitable for the heat and chemical conditions. Do not use aluminum for the lye solution.
- Always add lye slowly to water. Never pour water onto dry lye.
- If lye or fresh soap batter touches skin, rinse immediately with plenty of running water. If it reaches the eyes, begin rinsing immediately and seek urgent medical assistance.
Keep your protective equipment on throughout mixing, pouring, and cleanup. Fresh soap batter should be treated with the same care as the lye solution.
Equipment You Will Need
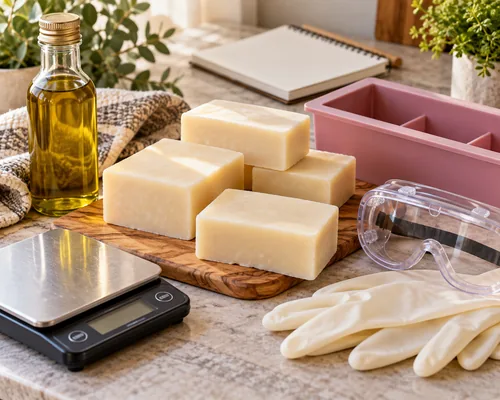
- An accurate digital scale that measures by weight
- Chemical splash goggles and suitable gloves
- Heat-safe, lye-compatible containers
- A silicone spatula or suitable stirring utensil
- An immersion blender dedicated to soap making
- A thermometer
- A silicone soap mold or another properly prepared mold
- A suitable cutter or plain knife for cutting the set soap
Measure oils, water, and sodium hydroxide by weight. Kitchen measuring cups are not accurate substitutes for the amounts in a soap recipe.
A Simple Three-Oil Soap Recipe
This unscented example uses olive oil, coconut oil, and palm oil. Keeping the first batch free of fragrance and color makes it easier to see how the soap behaves.
| Ingredient | Weight in ounces | Approximate metric equivalent |
|---|---|---|
| Olive oil | 15 oz | 425.2 g |
| Palm oil | 11 oz | 311.8 g |
| Coconut oil | 8 oz | 226.8 g |
| Sodium hydroxide (NaOH) | 4.8 oz | 136.1 g |
| Distilled water | 11.2 oz | 317.5 g |
Important: The metric figures are conversions of the stated ounce weights, rounded to one decimal place. Use one unit system consistently, weigh each ingredient, and check the recipe with a reliable lye calculator before making it. Use sodium hydroxide intended for soap making and verify its purity. If you change an oil, its amount, or the lye specification, recalculate the recipe.
Step 1: Prepare Your Workspace and Mold
Clear and protect the work surface. Put on all protective equipment before opening the sodium hydroxide container. Set out every ingredient and tool so you do not need to search for equipment after mixing begins.
Prepare a silicone mold, or line another suitable mold before making the soap batter. Make sure the mold is large enough for the batch and placed on a stable surface.
Step 2: Weigh the Ingredients
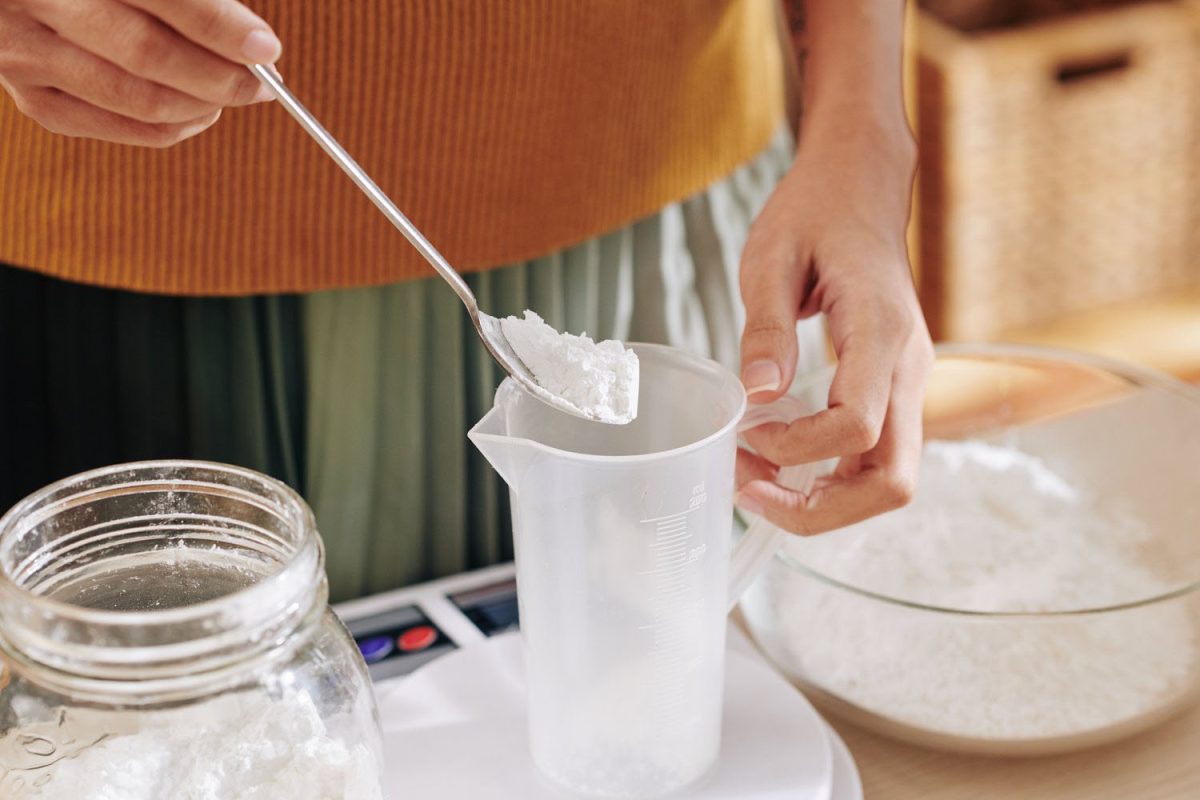
Weigh the distilled water into its designated lye-safe container. Weigh the sodium hydroxide separately. In another container, weigh the oils individually.
If the palm oil is solid or has separated in its storage container, melt and mix the entire supply thoroughly before weighing the portion needed for the recipe. This helps you measure a representative mixture rather than only one fraction of the oil.
Step 3: Make the Lye Solution
Slowly add the measured sodium hydroxide to the water while stirring carefully. The solution will heat up. Stir until the lye has dissolved, then place the container in a secure, ventilated location to cool.
Do not touch or taste the solution, lean directly over the container, or leave it where another person or a pet could reach it. Keep it clearly identified while it cools.
Step 4: Prepare and Cool the Oils
Gently melt the solid oils as needed, then combine them with the olive oil. Stir until the mixture is uniform. Allow both the oils and the lye solution to cool to a workable temperature appropriate for the recipe. For this example, around 120°F (approximately 49°C) for both mixtures is a useful reference point.
They do not need to reach an identical temperature. What matters is that the solid oils remain melted and that the mixture can be handled safely without excessive heat.
Step 5: Combine the Lye Solution and Oils
Carefully pour the cooled lye solution into the oils. Place the head of the immersion blender beneath the surface before turning it on to reduce splashing.
Alternate brief blender pulses with gentle hand stirring. Avoid continuous blending: the soap can become too thick to pour comfortably.
Step 6: Recognize Trace
Trace describes the stage when the oils and lye solution have emulsified and the mixture begins to thicken. At thin trace, the soap batter looks uniform and no separate pools of oil remain. As it thickens further, a drizzle of batter may briefly leave a visible trail on the surface.
For a plain beginner bar, you can pour once the batter is uniformly mixed and reaches a light to medium trace. A recipe rich in olive oil may take longer to thicken than some other formulas.
Step 7: Pour and Leave the Soap to Set
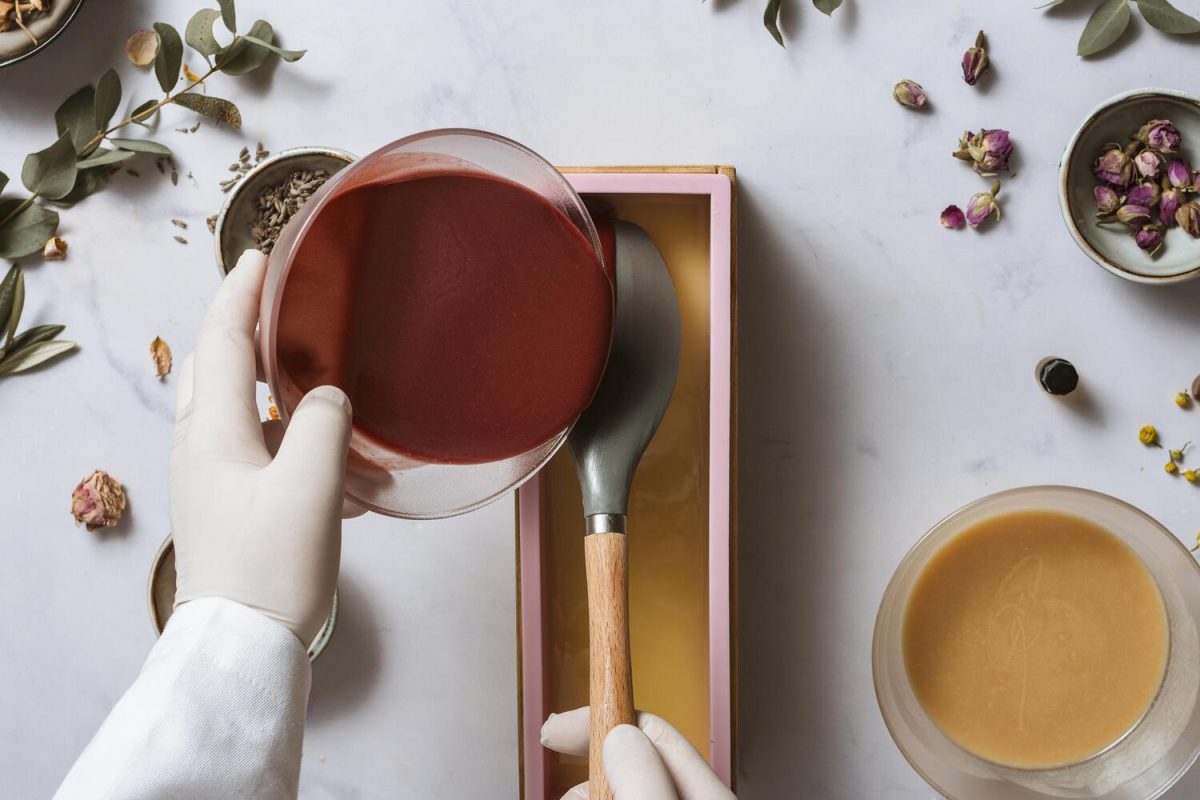
Pour the batter into the prepared mold. Gently tap the mold on the counter to release trapped air bubbles. Place it somewhere secure and out of reach while it sets.
The soap may warm up in the mold as the reaction continues. Avoid handling fresh soap with bare hands. Leave it until it is firm enough to release without tearing or denting; for this example, that may take around 3–4 days, although actual timing varies.
Step 8: Unmold, Cut, and Cure
When the soap releases cleanly from the mold, remove it and cut it into bars. Keep wearing gloves if the bars are still fresh.
Arrange the bars with space between them in a cool, dry place with good airflow. Allow them to cure for approximately 4–6 weeks. During curing, water evaporates and the bars generally become firmer and longer lasting in use.
A bar that feels solid immediately after unmolding has not necessarily completed its cure. Record the date of production and the planned end of the curing period.
Common Beginner Mistakes
| Mistake | Why it matters | Better approach |
|---|---|---|
| Measuring ingredients by volume | Inaccurate amounts can change the oil-to-lye balance. | Use a digital scale and measure by weight. |
| Swapping oils without recalculating lye | Different oils require different amounts of alkali. | Enter the revised recipe into a reliable lye calculator. |
| Pouring water onto dry lye | Mixing in the wrong order can cause a hazardous reaction. | Slowly add lye to water. |
| Over-blending | The batter may become too thick to pour neatly. | Alternate short blender pulses with stirring. |
| Unmolding too soon | Soft bars can tear, dent, or lose their shape. | Wait until the soap releases cleanly. |
| Skipping the cure | Young bars may be soft and wear down quickly. | Allow adequate time and airflow for curing. |
When Should You Add Fragrance or Color?
Learn the plain recipe first. Once you can measure accurately, recognize trace, and unmold and cure a consistent batch, try one change at a time. Fragrance oils, essential oils, clays, and colorants can affect how quickly batter thickens or how the finished bar looks.
Use ingredients suitable for soap making and follow their supplier guidance. Do not assume a fragrance amount or colorant amount from a different recipe will behave identically in yours.
Final Thoughts
Your first homemade soap does not need a complicated design. A straightforward recipe lets you concentrate on the essentials: accurate measurements, safe lye handling, a stable emulsion, patient unmolding, and a full cure.
Once you understand those steps, you can begin developing your own oil combinations and designs. Recalculate the lye whenever the oils change, keep clear batch records, and let the performance of the finished bars guide your next experiment.